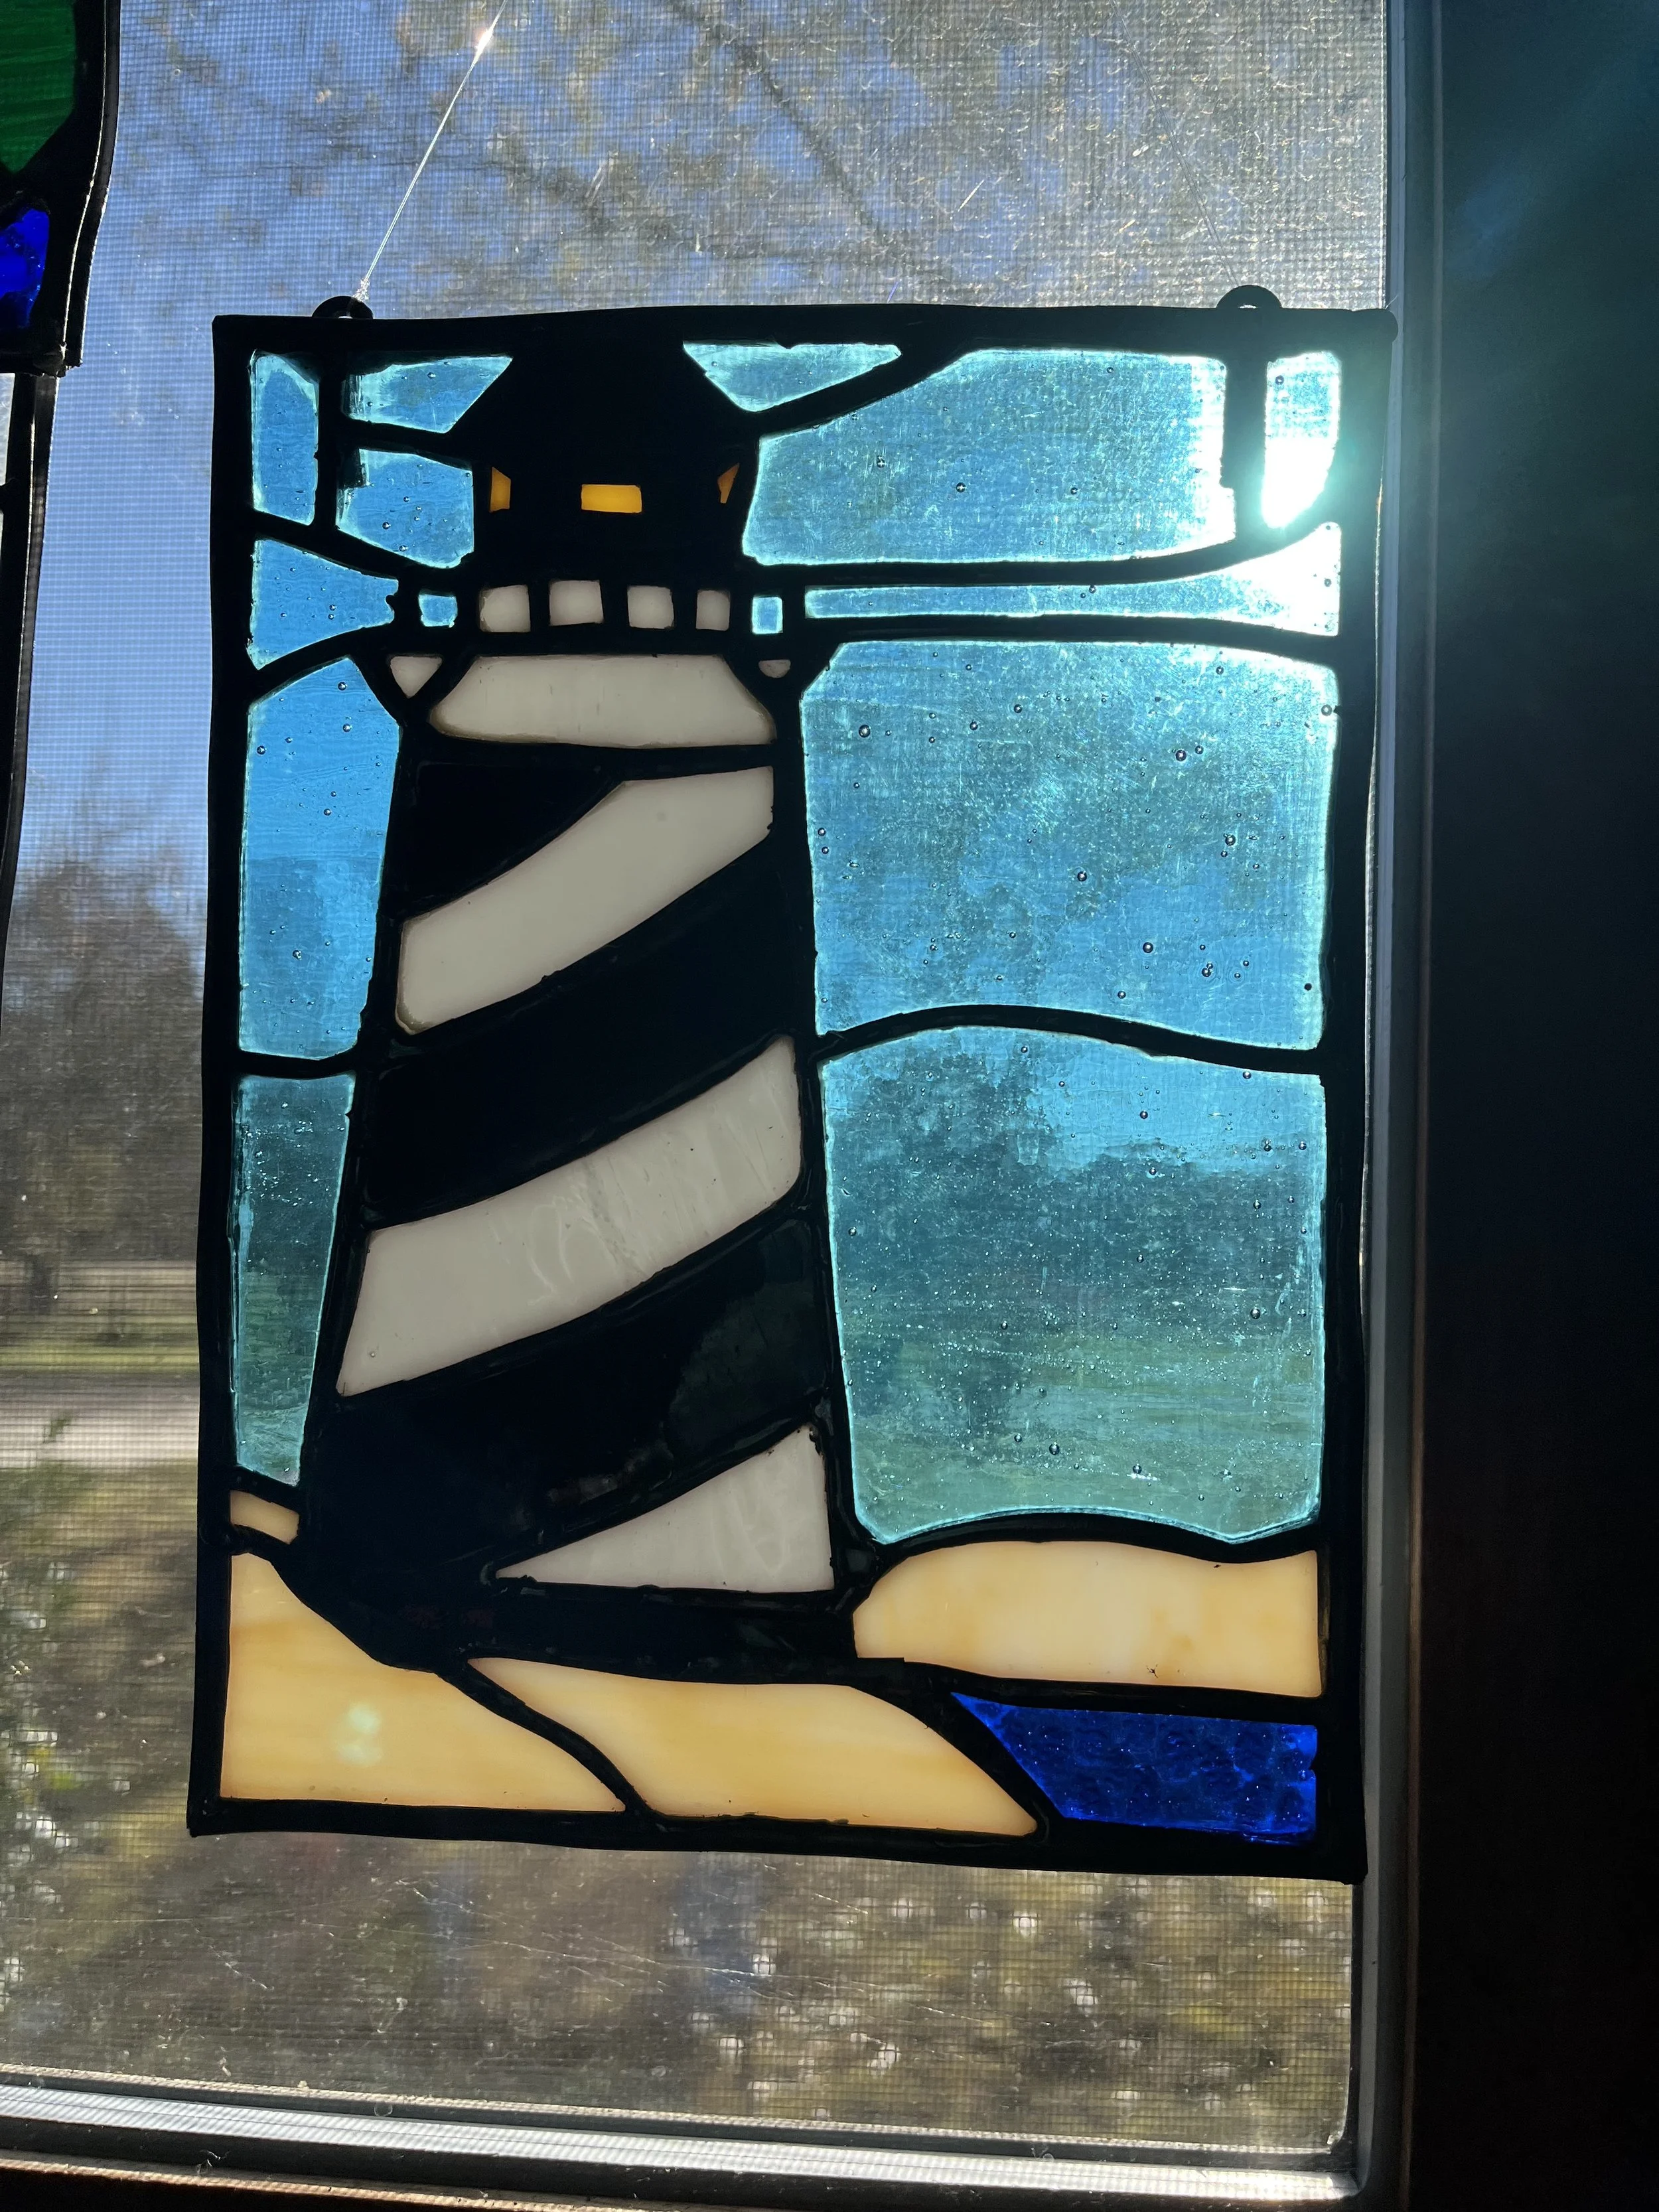
About Me and The Process of Making Staines Glass Art
Hello, everyone! My name is Heather I am the artist and crafter behind Don’t Go Breaking My Art: Stained Glass Art and More! I have always enjoyed all sorts of arts and crafts, including quilting, crocheting, and painting. But I have really found my passion in stained glass. I have been making pieces from my own drawings and from the imagination of clients for well over a year now and I just LOVE it. To be able to explore what is possible in glass and bring other people’s dreams to reality is an absolute joy. So, tell me, what you have always wanted to see in glass?
About Me
Creating art in stained glass is a labor-intensive process.
A drawing or template must be made.
Every single piece of the picture must be drawn onto glass, numbered, then carefully cut out. I hand-cut everything. There are no lasers or drills here.
Then, every edge of every piece is carefully ground down to perfect it’s shape and smooth away sharp edges.
Each piece is then thoroughly wiped down to remove glass grit, oils, and water.
Once cleaned, each piece of glass is then copper-foiled. This means that a thin band of copper is adhered to every edge. Solder does not stick to glass, but it DOES stick to copper.
Then, each piece is arranged in its pattern/picture and pinned down.
A flux chemical is applied (this helps the solder to flow/attach) and the soldering iron is heated to 700 degrees!
Once hot, the iron is used to melt and apply a 60/40 blend of lead and tin to all copper-foiled edges.
After the pieces has been soldered, a border may be added, hooks are applied, and the piece gets a thorough wash.
After the bath, a chemical known as Patina is applied to the solder to turn the shiny silver into the dark lines we know and love on stained glass.
Another thorough scrubbing ensues to remove all chemicals before a protective wax is applied, allowed to dry, and is buffed off.


